Installation
1. Remove the stock skid plate. There are 14 bolts holding it onto the frame. Save the six washers … they will be needed for the installation of the Factory UTV Skid.
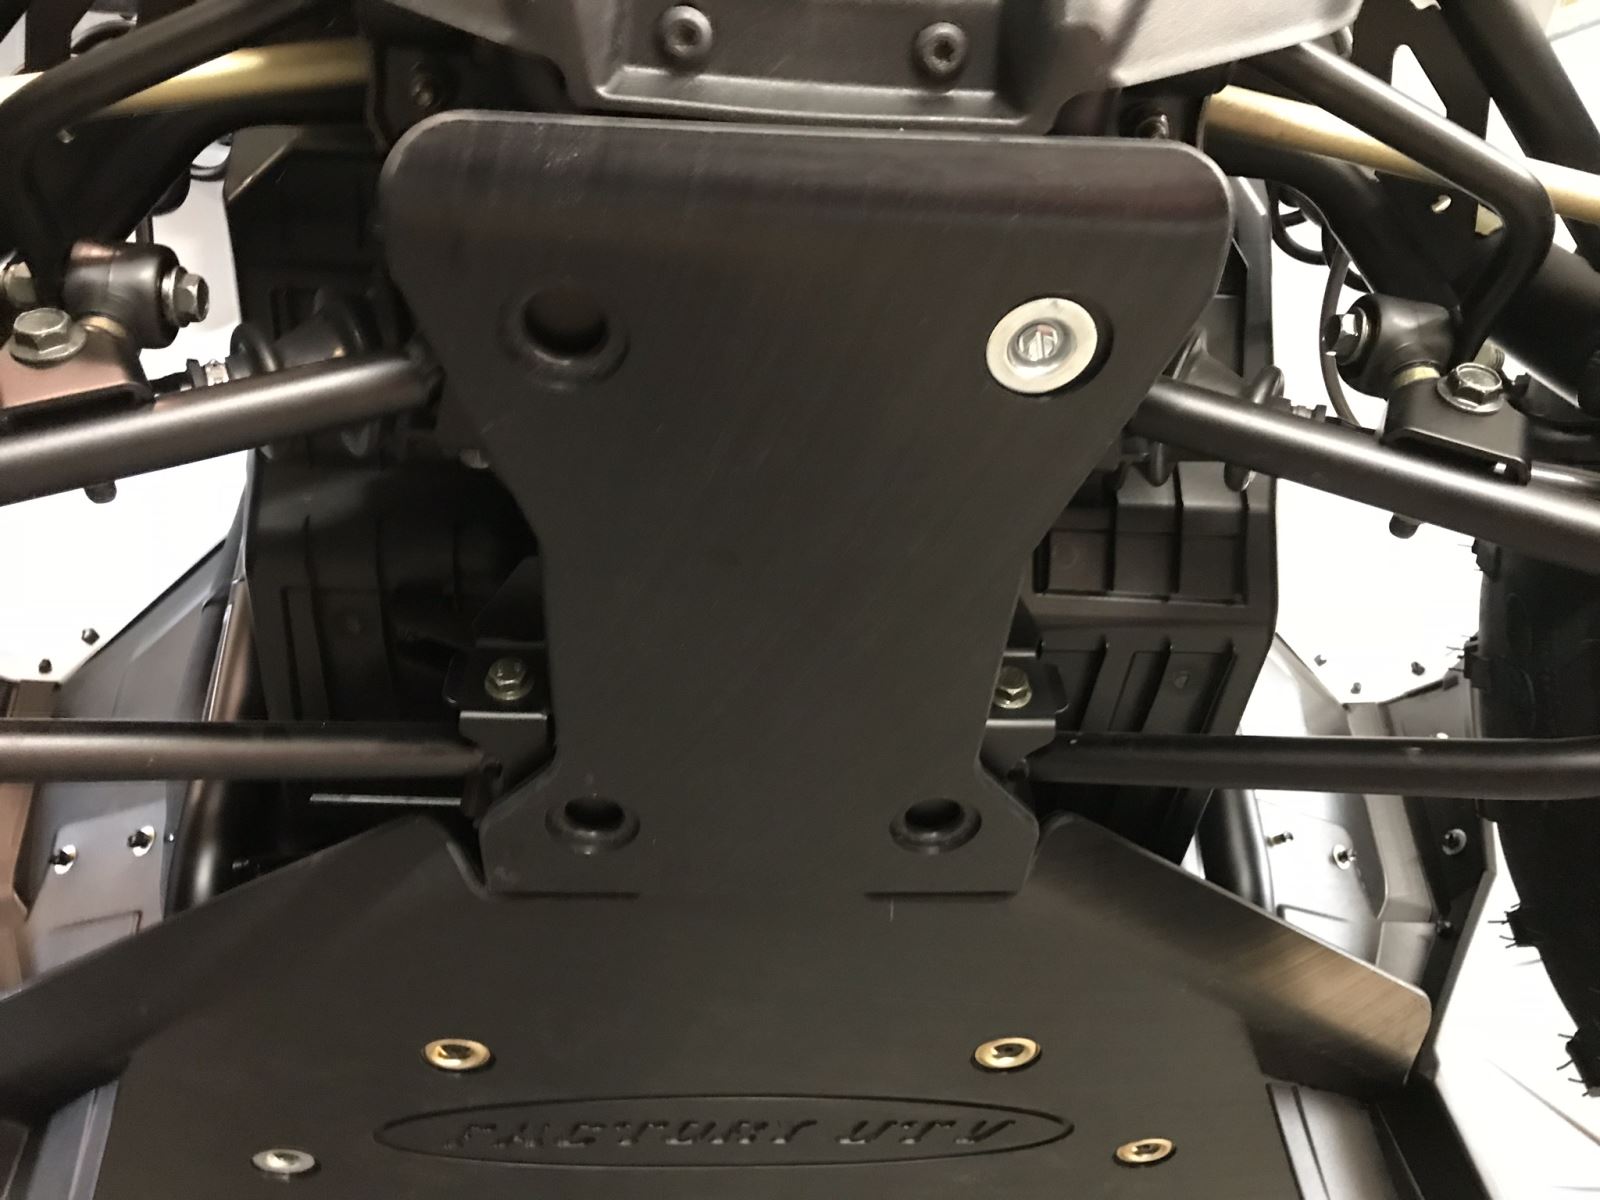
2. Position the Factory UTV Skid and insert a couple of the supplied bolts with big washers to secure it in place using the stock bolt mounting positions. Do not tighten the bolts yet … you want to be able to adjust the skid until everything is lined up and all bolts have been inserted. Note: The stock mud guards interfered with positioning the Factory UTV Skid so I removed them for now.
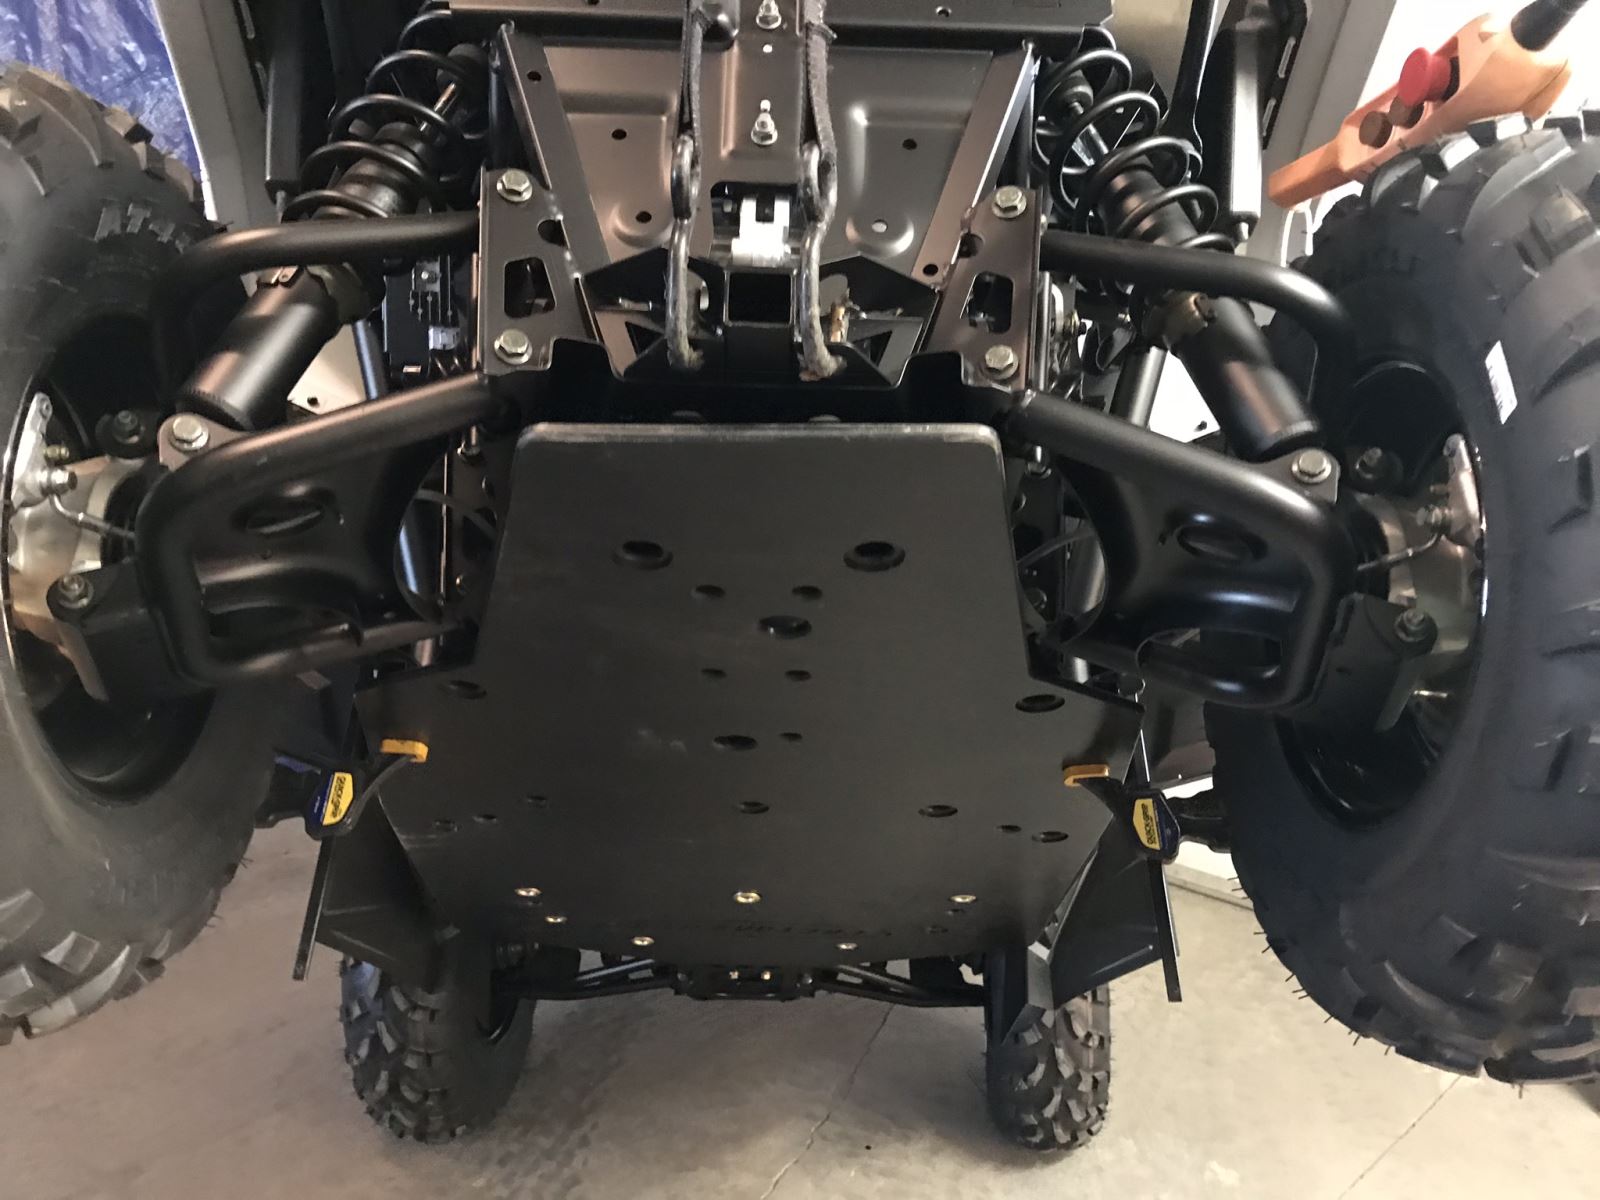
3. Once you have the front bolts and washers inserted (where the stock skid plate mounting positions were located), you need to drill four holes in the center of the skid plate hole locations at the back of the Ace.
4. Insert the self-tapping bolts that are included in the kit with the big washers.
5. After making sure everything lines up, tighten all the bolts.
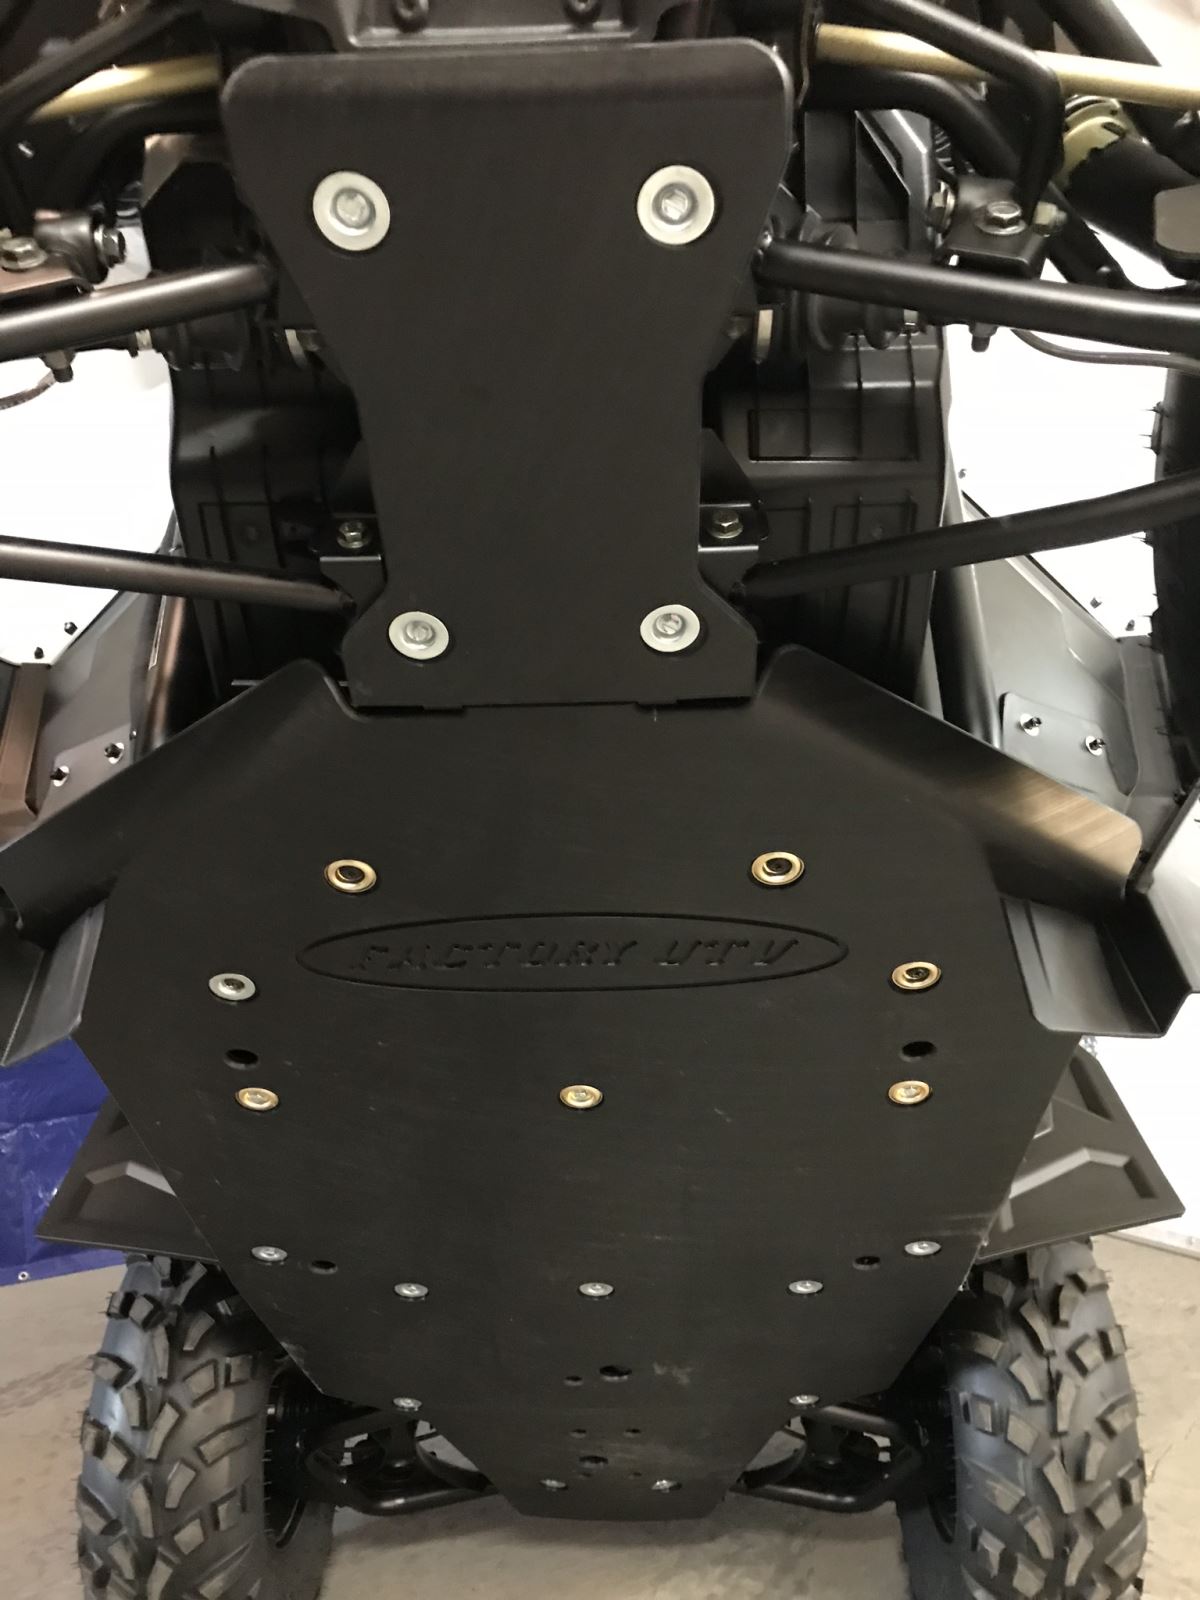
6. Position the second piece of the skid to the nose of the Ace and mark the center of one of the holes. Drill a hole and secure the piece with a self-tapping bolt and larger washer to secure the piece in its proper location.
7. Drill the final three holes and insert the self-tapping bolt and larger washers to secure the skid to the front of the Ace.
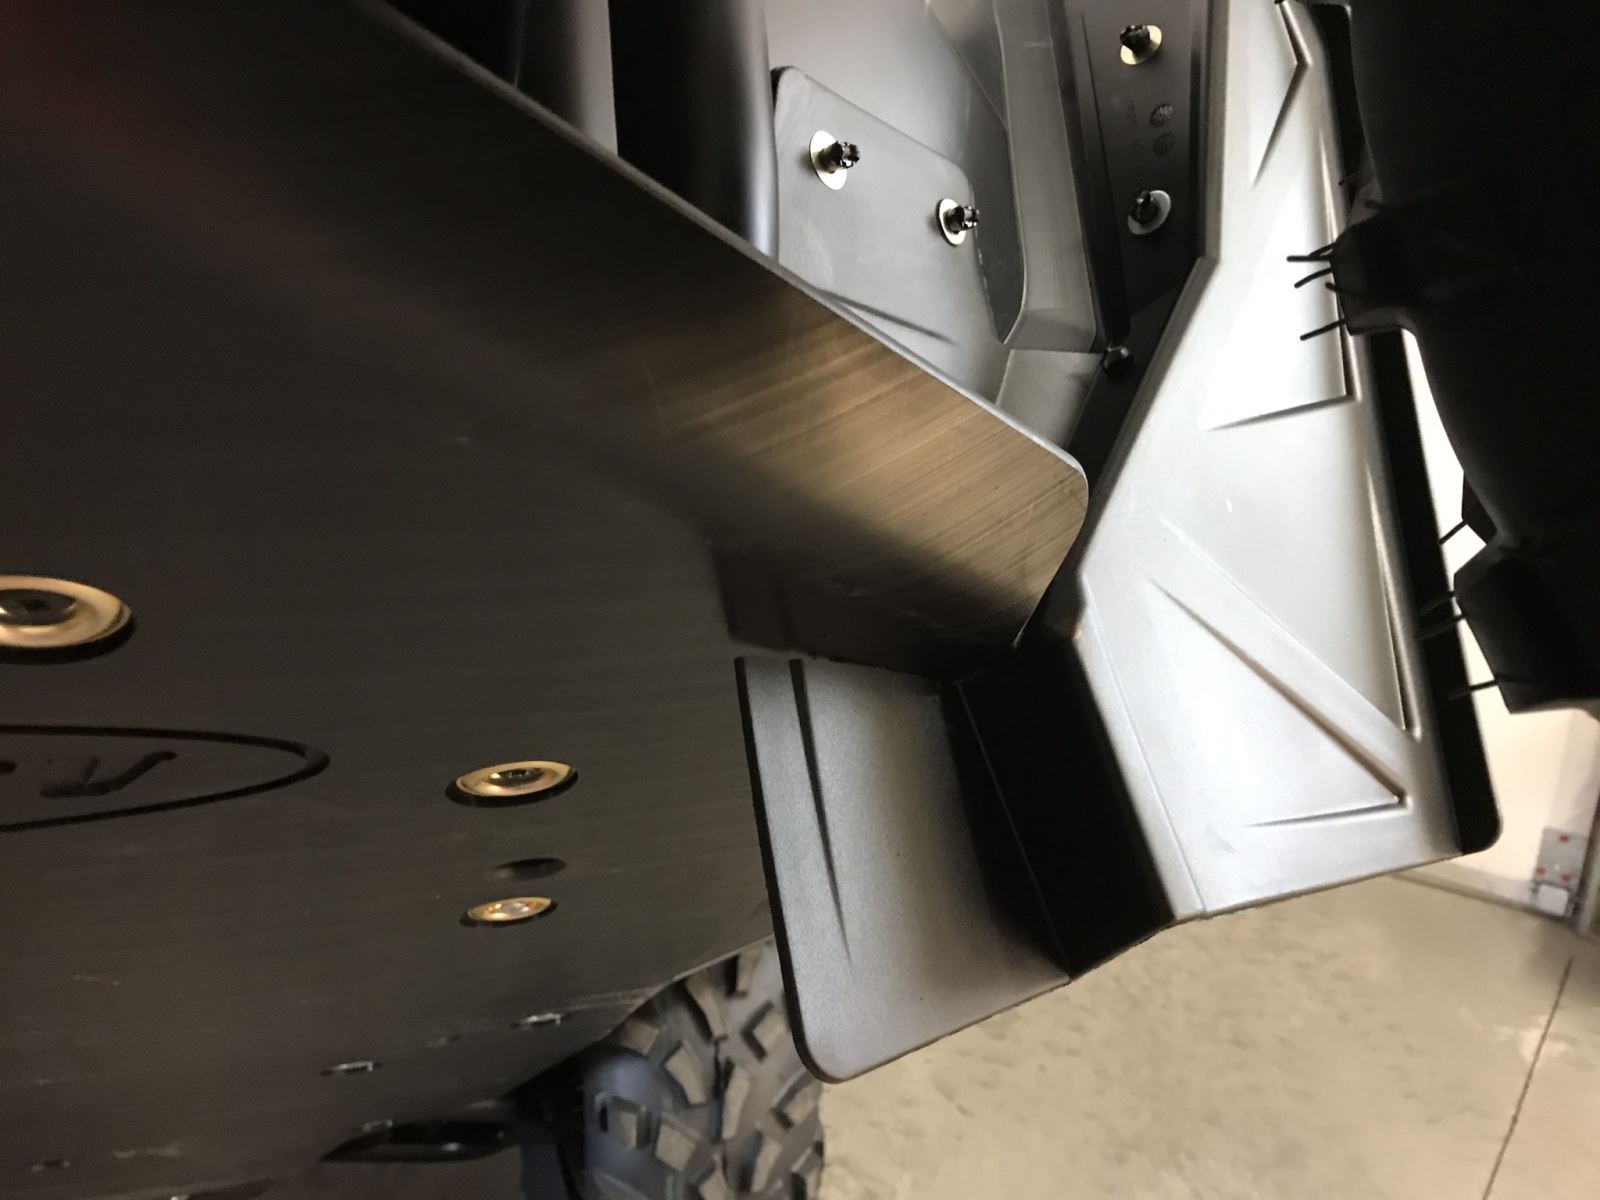
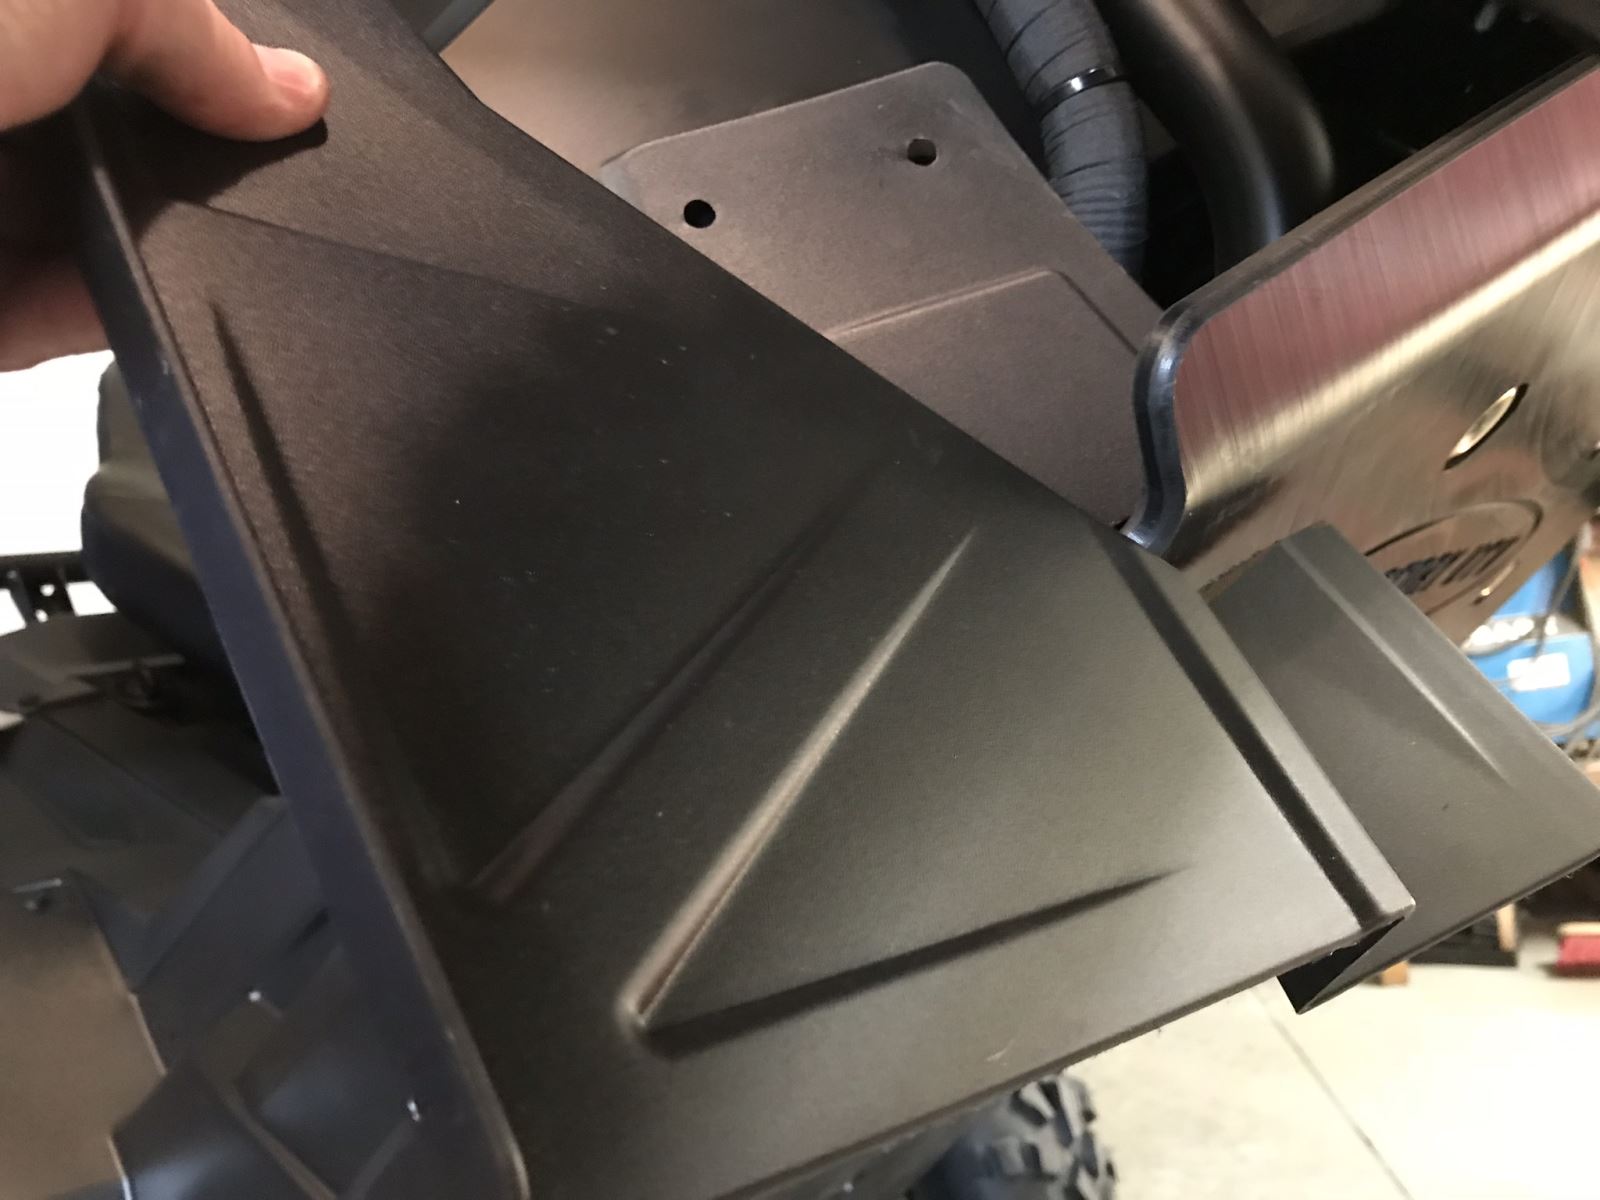
8. Once the Factory UTV Skid was installed, I made some slight modifications to the stock mud guards by cutting a notch in the side so they could clear the skid plate. Then I reinstalled the mud guards.