Be prepared. This is a simple, yet effective motto from the Boy Scout handbook. That saying holds true when taking your UTV on trails, on sand or through the rocks. Be prepared to hit stuff, whether it is logs, rocks or dirt mounds. If you ride like us, you will hit them. It’s not a matter of if, but rather when.
On this install we met up with the guys from Idaho Falls, ID-based UTV Tech who offered the solution to the problem with their custom Under Armor, which we documented as they installed it on a Kawasaki Teryx.
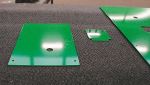
What you’ll need is a power drill, ratchet, t30 bit, 10 mm socket, No. 3 Phillips screw driver and about 2.5 hours of your time if you are installing by yourself without a lift. While doing the install, UTV Tech replaced the stock OEM bolts because some of them were stripped. They also added washers. UTV Tech also had someone powdercoat their Under Armor green, which doesn’t come with the purchase of the Under Armor.
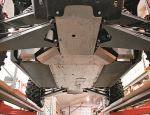
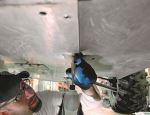
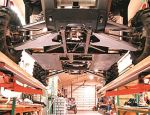
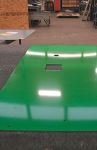
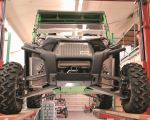
Before the Under Armor was installed
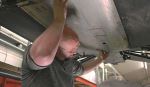
Step 1. Using the t30 bit, remove the front two bolts on the front skid plate.
Step 2. Using the 10mm socket, remove the six bolts on the front skid plate.
 Step 3. Remove the front skid plate. Step 7. Remove the rear skid plate.
 Step 4. Using the 10mm socket, remove the 12 bolts on the middle section skid plate.
 Step 5. Remove the middle section skid plate.
 Step 6. Using the 10mm socket remove the six bolts on the rear skid plate.
 Step 7. Remove the rear skid plate.
 With no skid plates
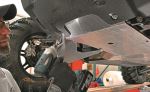
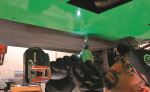
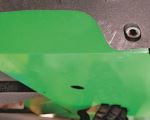
 Beginning the install, you need to start with the rear section skid plate. Bolt holes on the front skid plate will overlap the middle section skid plate.
 Step 8. Place the rear skid plate Leave the front three bolt holes that will be under the front skid plate open, in order to get the front skid plate on.
 Step 9. Using the 10mm socket, bolt the 6 bolts snug onto the rear skid plate.
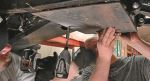
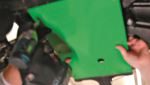
 Step 10. Place the middle section skid plate.
 Step 11. Using the 10mm socket, bolt on the 12 rear bolts on the middle section skid plate snug.
 Leave the front three bolt holes that will be under the front skid plate on.
 Step 12. Mount your oil filter access door on your middle sec- tion skid plate with the Phillips screwdriver and three screws.
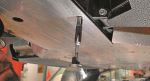
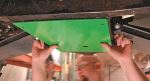
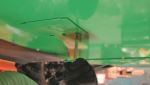
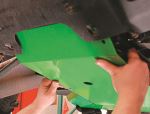 Slide in the front of the front skid plate
 Step 14. Line up the front two bolt holes.
 Step 15. Using the t30 bit, put the front two bolts on snug.
 Step 16. Using the 10mm, put the last six bolts on the front skid plate snug.
 Step 17. Finally, grab your ratchet and 10mm socket and tighten all of the bolts on the front and middle section and rear skid plate.
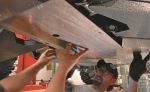
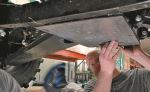
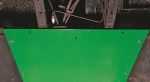
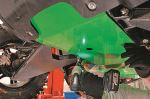
 What the finished product looks like.
Now you’re ready to ride. Mobbin’ through Moab, racing down the trail or cruising through the sand, you now have the protection you need to keep you be- hind the wheel instead of in your garage under your UTV, which brings us to our next point, “Always use protection.”
For more information on UTV Tech, visit www.utvtech.com.