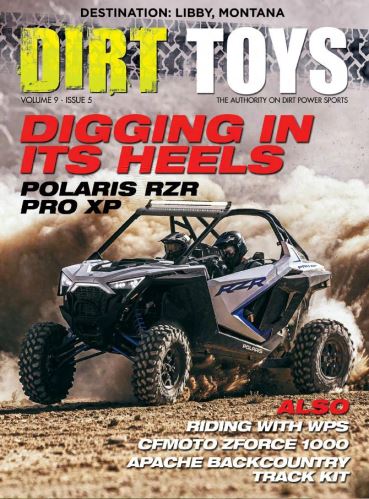
Eric Tibbens wanted to take his 2011 Polaris RZR S 800 to the next level. So he did what most any of us would do—he started adding aftermarket parts and accessories.
Dirt Toys Magazine is going to follow Tibbens’ project build—he’s named it “Backcountry RZR”—as it progresses.
“The goal for this build, I would say, is to enhance the stand-alone capabilities, improve performance and be able to carry what is needed to make my RZR the best, most dependable tool I have when camping or hunting in the backcountry,” he explained.
Two of the first projects on Backcountry RZR were to install a Tough Country Bumper and Big Gun Exhaust.
Big Gun Exhaust
Tibbens, who lives in Lehi, UT, said, “Right out of the box I could tell the Big Gun Evo U Full Exhaust System is a quality product. It was packaged with care and everything needed for the install was included.”
After taking the exhaust system out of the packaging and inspecting it, Tibbens got to work tearing out the old stock exhaust system in his RZR.
“It was very easy to do,” he said. “The only tools needed were a socket set, open end wrench set and some pliers.”
He started by removing the elbow that connects the header to the muffler which, he explained, has to be removed first in order to be able to pull out the muffler (the second part to remove) and then the actual header, the third and last thing to remove. He cautions to be careful when removing the header bolts and exhaust gasket as you will reuse them both. “I was pretty surprised at how rusty the whole stock system was,” he said.
With the old exhaust out, it was time to put the new in. Tibbens explained, “I started by bolting on the headers. They threaded on very easily, I tightened them up until they were snug, waiting to tighten them fully till the whole system was on in case I needed to make any adjustments. Next I moved on to the elbow, which on the Big Gun Full System actually wraps around part of the frame. It slides onto the header and is secured with a pre-installed tube clamp.”
The next step was to use the stock spacer and spring to hold that side of the pipe up. With that done, it was time to install the actual muffler. First you bolt the muffler bracket to the frame. Tibbens said that was very simple and easy as the bolts and holes needed are already there. You simply loosen and take off the nuts and slip the bracket into place and tighten back down. The muffler slips right on and is secured by two springs (provided) which connect from the muffler to the pipe. Then push the muffler up until the holes on the bracket welded to the muffler and the pre-mounted bracket bolted to the frame line up and install the bolt provided by Big Gun and you are done.
“The system looks amazing and sounds even better,” Tibbens said. “I got that deep throaty sound I was looking for without adding much more noise output. It was super easy to do and very few tools are needed for the install. It took about an hour to install and that’s with me taking extra care to not strip any of the old rusted bolts and fasteners. Anyone with even a little mechanical background could do this, it’s that simple.”
Tough Country Bumper
Tibbens was obviously as impressed with his Tough Country Bumper as he was the Big Gun exhaust.
He said, “The first word that comes to mind when taking this bumper out of the packaging is ‘wow.’ You can really tell that Tough Country built these bumpers to last and stand up to whatever beating you can put on them. The finish is awesome, a lot like Rhino lining you would get in the bed of your truck. Then there is the weight of the bumper. I’m not sure what thickness of steel they used to build it but it is not ‘budget’ by any means. They used some nice and thick metal. I am also impressed with the quality of the welds. I looked the bumper over from top to bottom and the welds are all very uniform and done very well.”
Tibbens said the install was “very, very easy.” If you have a winch you will need to mount that prior to installing the bumper because once the bumper is installed you will not be able to fit your hands or any tools behind it to mount the winch.
Once you have the winch on, the mounting of the bumper is extremely easy. Tibbens explained that you slide the top mount on the bumper on top of the frame where a winch would normally go and the skid plate slides on below the front differential. There are only four holes to put bolts through to mount the bumper to the RZR frame. These holes are pre-drilled and drilled in the exact location of existing holes on the vehicle so no drilling is necessary.
You will need your own bolts as the bumper did not come with any. Tibbens used 3/8-inch bolts that are 1.5 inches long and Nylock nuts. Once you have lined up the holes and finger-tightened the bolts on in all four holes, grab your open end wrench and socket and tighten it all the way down. Then all that is left is to run the wires to your winch and you are done. The bumper took 30 minutes to install and Tibbens said “anyone with even a little mechanical ability can install this bumper on their RZR.”
“I must say one of the coolest features on this bumper is the 2-inch receiver hitch on the front. I have used it several times to move some of my smaller trailers and duck boat around and it works great,” he said.

