
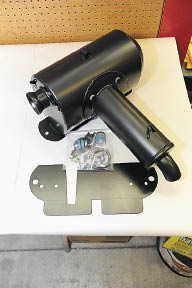
 Everyone wants that edge when it comes to powersports. Whether it's beating your buddy or helping your vehicle stand out above all the others, most of us are looking for an edge.
One area you can look to for that edge is a quiet muffler or silencer. Starting Line Products agreed to help us install its new Super Silent Muffler on a Polaris RZR, giving step-by-step instructions for those who want to install a muffler at home.
Note that this is a prototype silencer we installed so the product you order from SLP (www.startinglineproducts.com) might look a little different when you get it. Production color may vary.
The SLP Super Silent Muffler is 5 decibels quieter than stock, measured using the SAE J1287 standardized test. The new muffler also provides a 41 percent increase in airflow for more power.
Before you get started, you'll need some high temp Ultra Copper Silicone for the install. It is 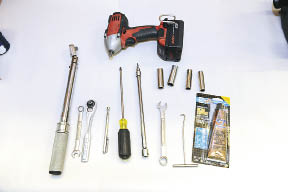 available from your local auto parts store.
Tools Needed For Project
- 7/16-inch socket
- 1/2-inch socket
- 9/16-inch socket
- 5/8-inch socket
- 12 inch 3/8 ratchet extension
- spring puller
- T25 Torx bit
- Phillips screwdrive
- 7/16-inch wrench
- 9/16-inch wrench
- Torque wrench
- 3/8 inch ratchet
- flat tip screwdriver
- light duty impact wrench (12-18 volt) not necessary but helpful
Remove any aftermarket parts you might have installed on the rear of the machine.
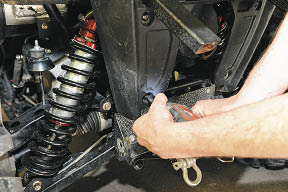
Using the T25 Torx, remove the rear bed screws. Note that the top two have nuts on the back (6 total screws on the rear).
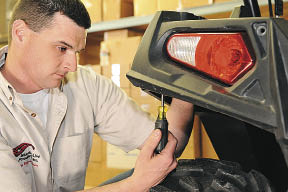
Remove four little Phillips head screws on rear underside.
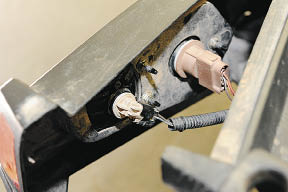
Unhook wiring on the back, two on each side. Simply twist them and pull.
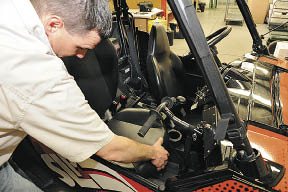
Remove the seats to remove the four T25 Torx screws on front of bedpan plastic.
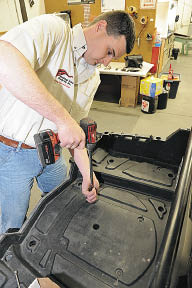
Using ½-inch socket, remove four inner screws.
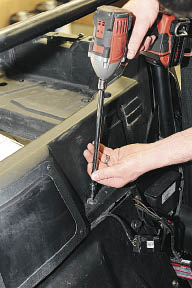
Remove four T25 Torx screws in bedpan.
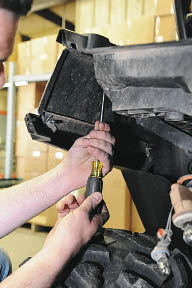
Remove 6 Phillips head screws that connect the sides to the bed.
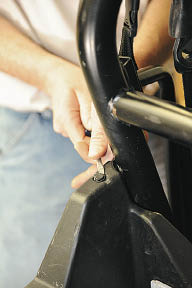
Using flat tip screwdriver, remove two darts near roll bar by prying up under the center of the dart.
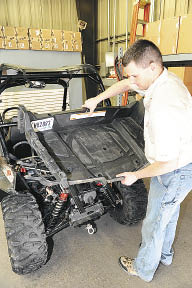
Remove bedpan.

Take bars off.
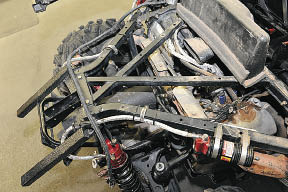
What the vehicle looks like up to this point in the install.
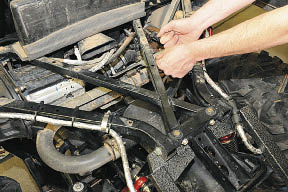
Remove the three stock springs holding the exhaust inlet tube going to the stock silencer.
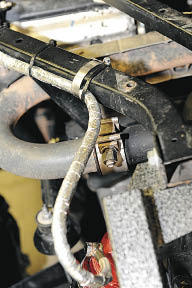
Using the 5/8-inch socket, loosen clamp on the inlet U-tube of the stock silencer.
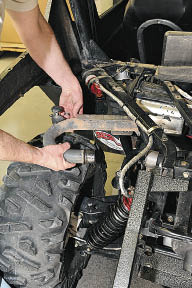
Remove the U-tube.
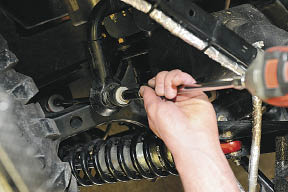
Undo sway bar by loosening the half-inch nut built into the stopper.
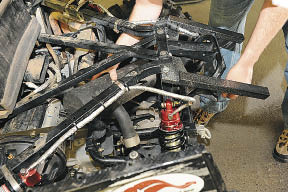
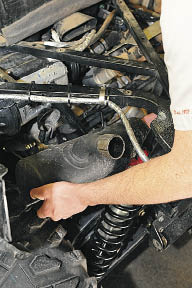
Slide silencer back and lift up and out. The silencer will need to be twisted and removed from the left side.
The next step is to install the mounting plate.
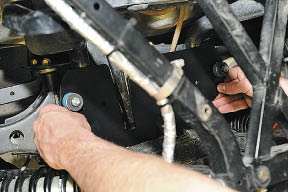
Center the plate side-to-side in the spot where you removed the stock muffler. Then slide it all the way to the back. Next, move the plate forward 1/16 of an inch.
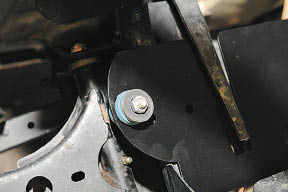
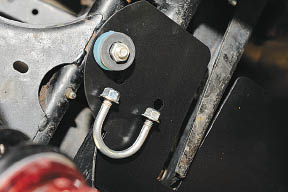
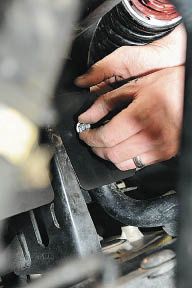
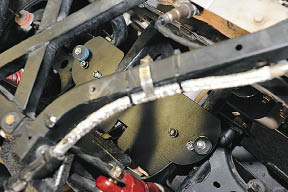
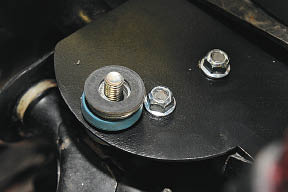
Attach the supplied U-bolt. Using the torque wrench, tighten the nut on the U bolts to the specifications in the instructions. Make sure the U bolts are evenly tightened so they aren't sticking out and won't touch the silencer.
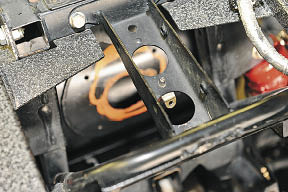
Drill a 3/16-inch hole between the two larger holes in the bumper brace and then rivet in the provided spring clip to the bottom of the bumper brace with the clip pointing rearward.
Install the heat shield. Refer to the SLP instruction sheet for this procedure.
Before inserting the silencer, you'll need to jack the rear of the vehicle up a few inches so the tires are barely off the ground. This will allow the silencer to clear the rear tire.
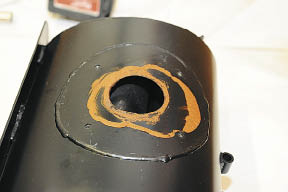
Aftermarket silencer with the exhaust outlet removed.
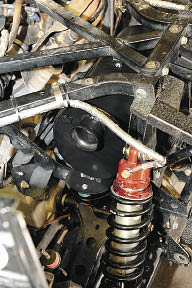
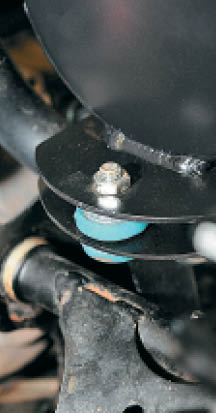
Slide silencer into place from the right side and align it over the bolts and tighten using the 9/16-inch wrench. Tighten until the blue rubber mount is bulging out slightly.
On the driver side you can use a socket to tighten the bolts but on the passenger side you'll have to use an open end wrench because the socket won't fit in the tight spot.
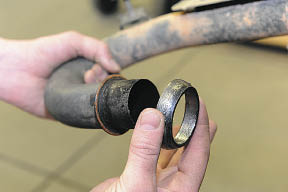
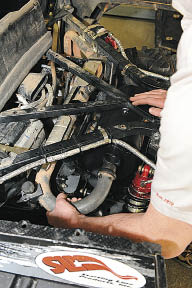
Put the grafoil seal provided with the kit on the end of the exhaust inlet U-tube that fits into the silencer and insert the tube into the silencer.
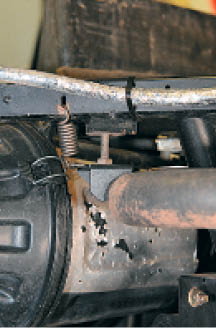
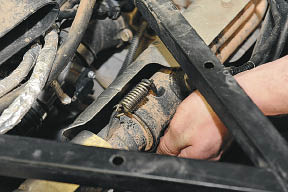
Install the springs closest to the engine and where the U starts to bend, using three springs.
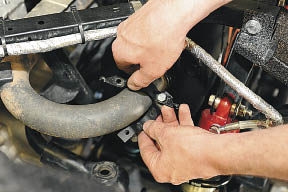
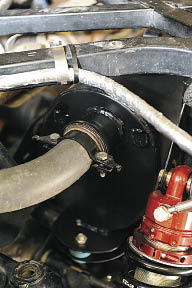
Install the exhaust inlet spring mount that came with the kit and tighten with the 7/16-inch socket.
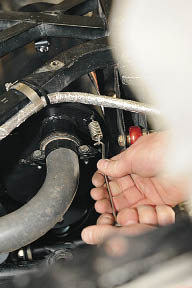
Spring the mount to the silencer with the springs supplied in the kit.
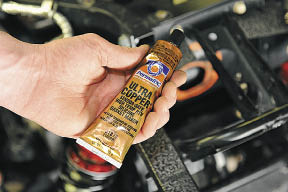
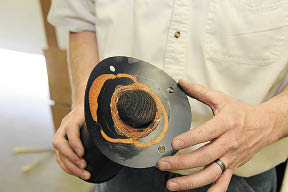
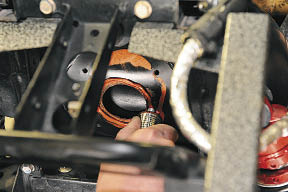
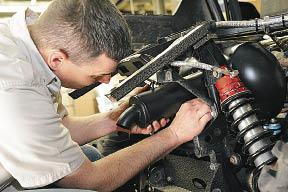
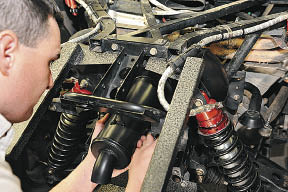
Apply the Ultra Copper silicone generously to the silencer outlet and then attach the exhaust pipe to the silencer using 4 7/16-inch bolts. Do not overtighten.
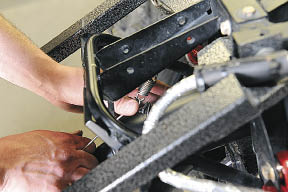
Spring the silencer outlet to the newly attached spring clip you installed on the bumper brace. This spring should have very little tension.
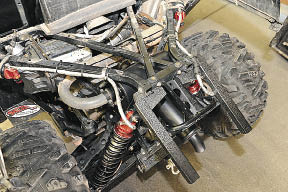
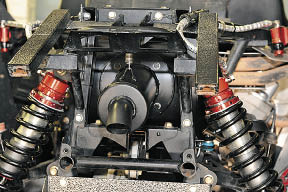
The silencer is now installed. Remember, if you're going to install an SLP silencer, follow the directions in the kit as it might be slightly different than what we installed.
To reinstall the bedpan, reverse the process of taking it off.
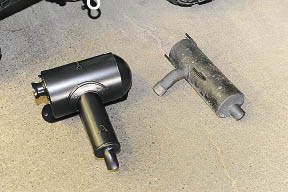 While the SLP aftermarket silencer (left) is bigger than the stock Polaris RZR muffler (right), the aftermarket silencer is quieter and offers a bit more horsepower. The install of the new silencer took a little more than an hour with basic hand tools.

